
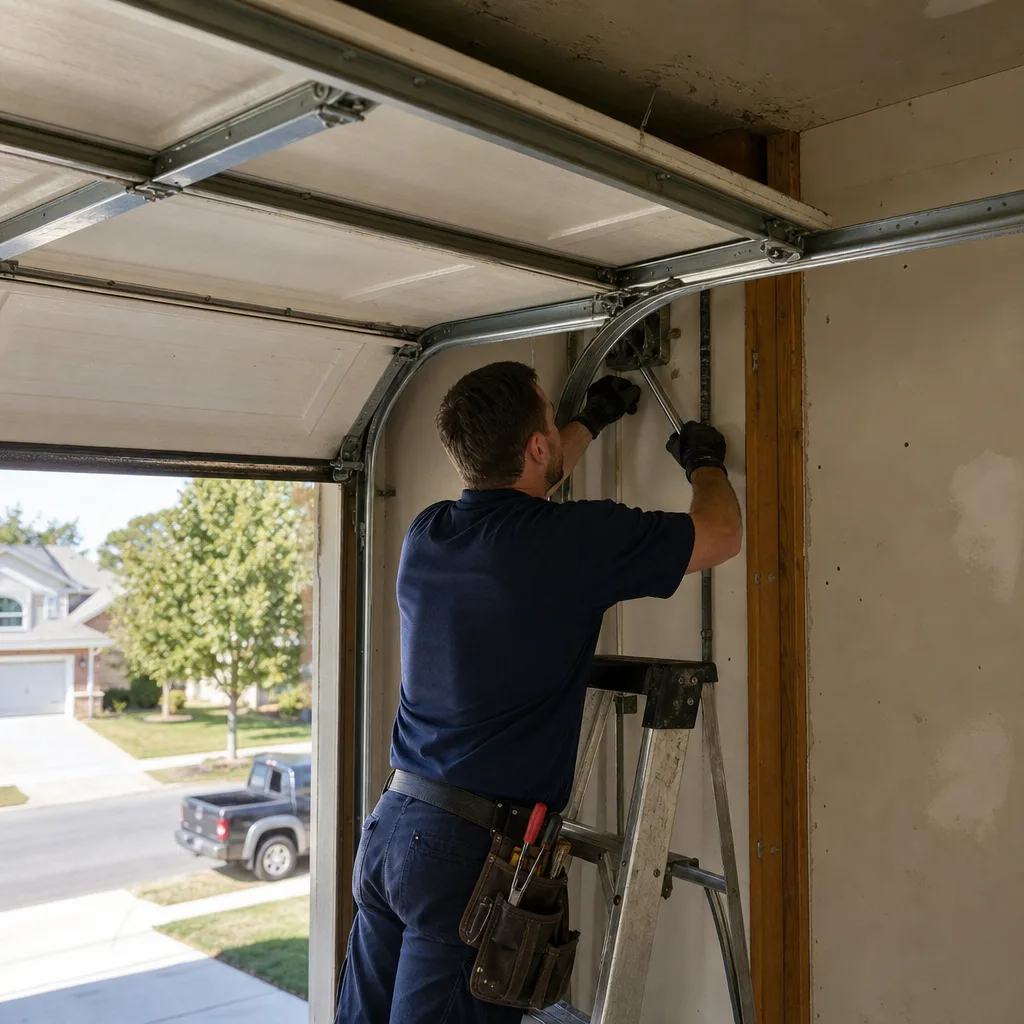
Last updated November 21, 2026
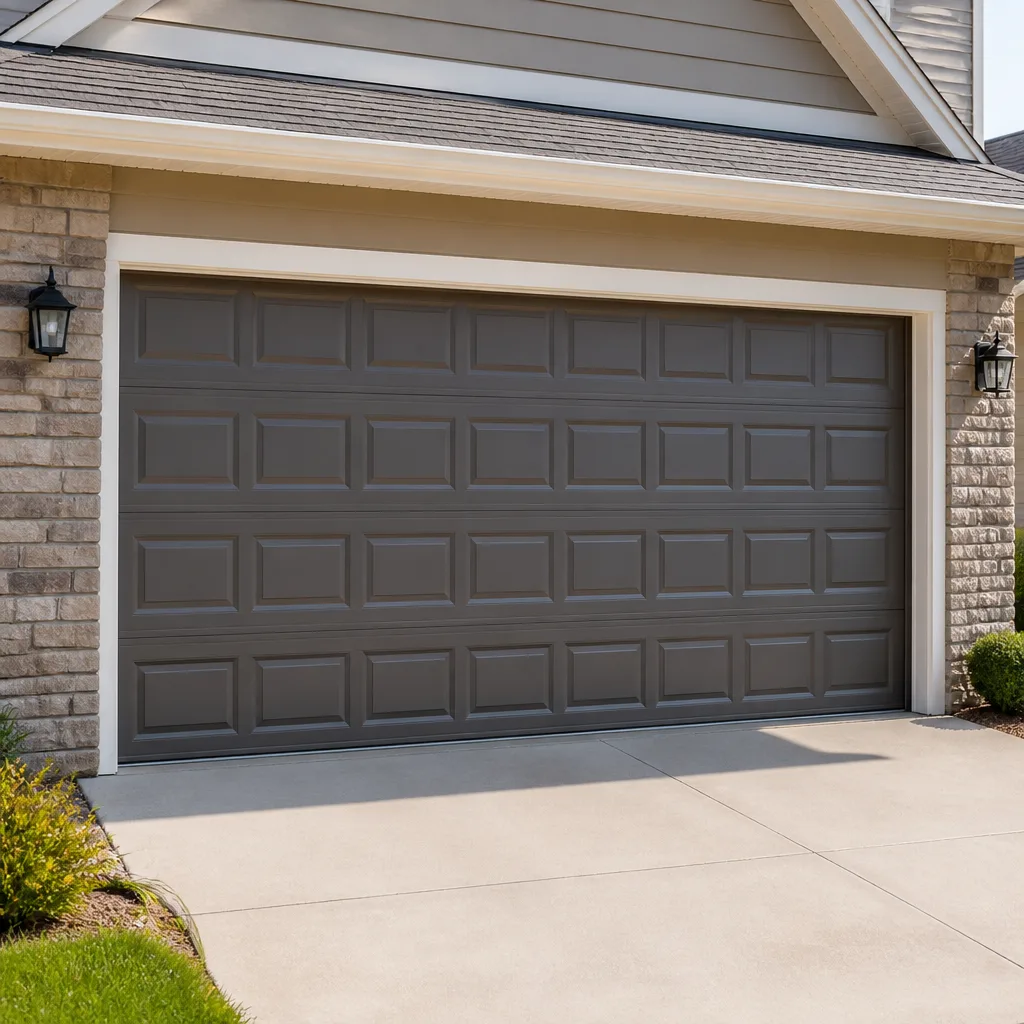 Raised-panel steel
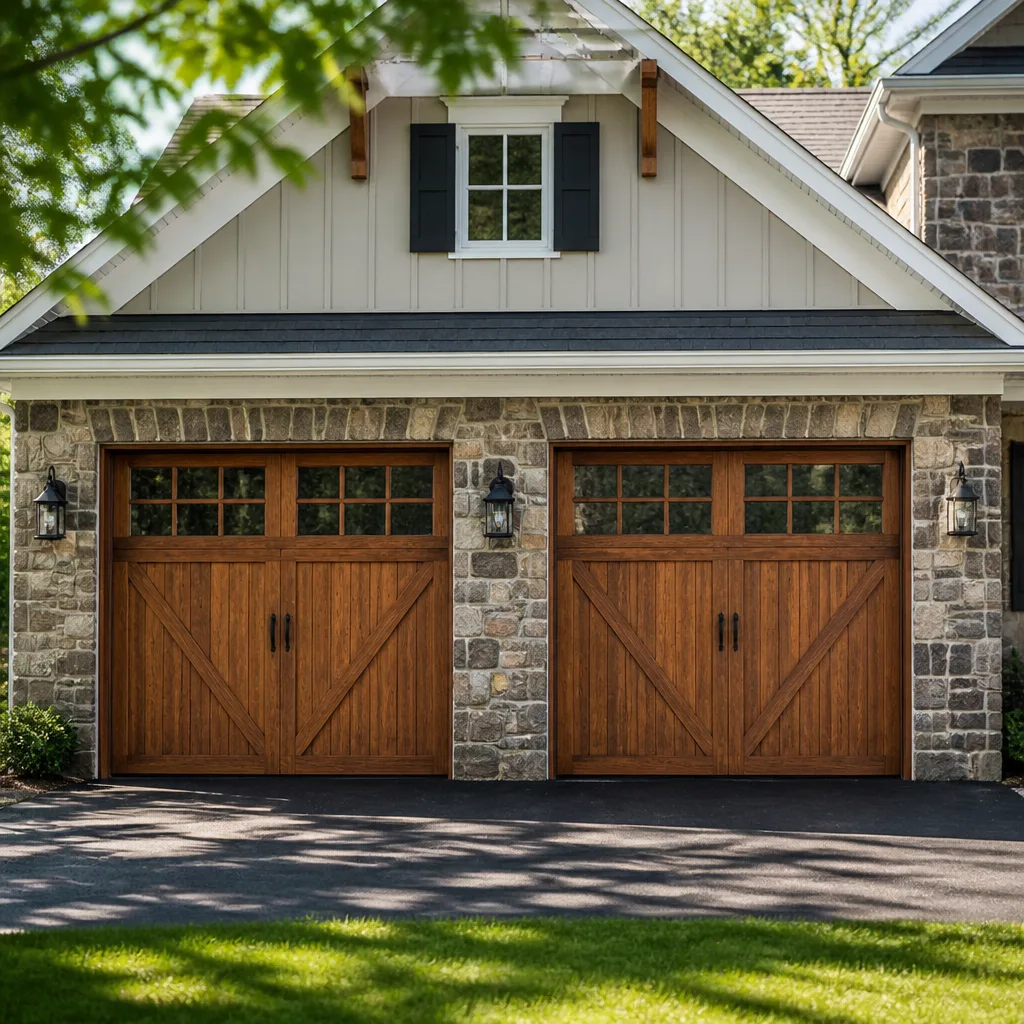 Carriage house
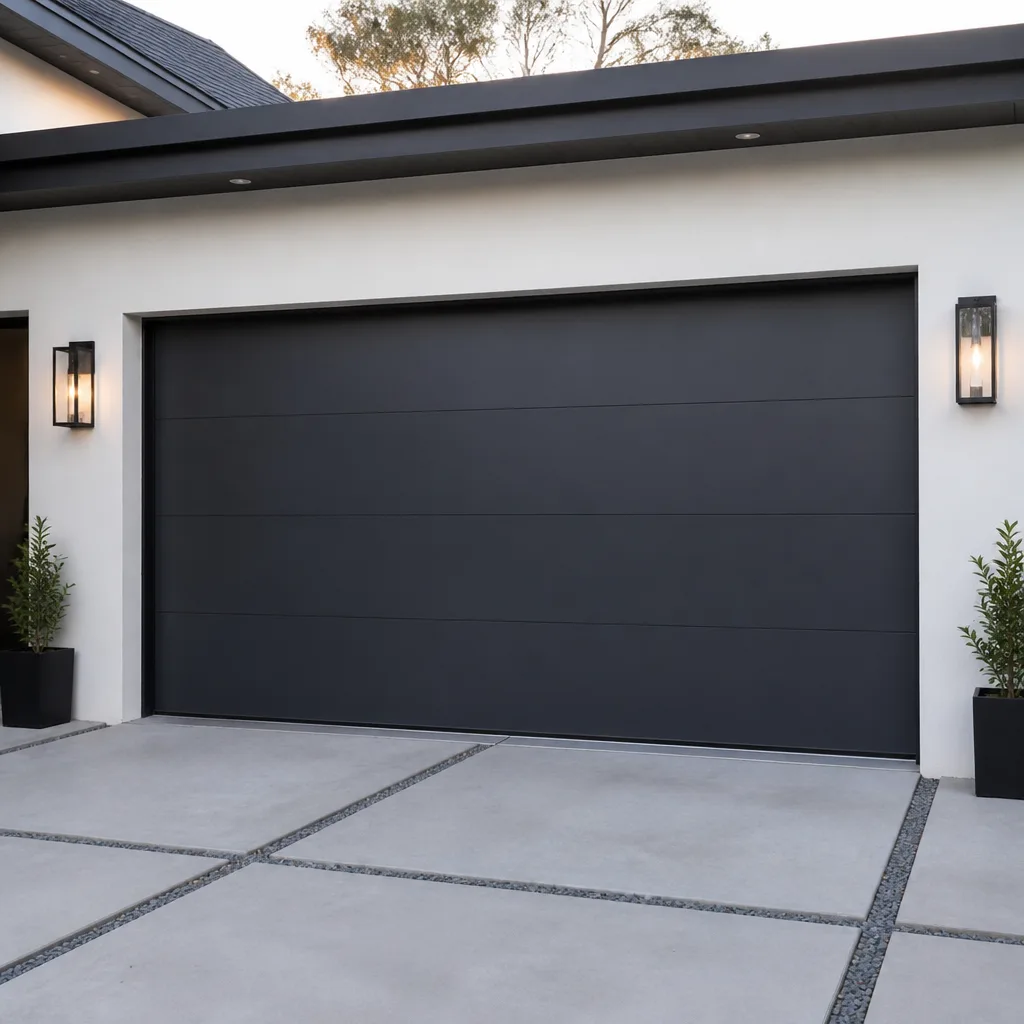 Modern flush
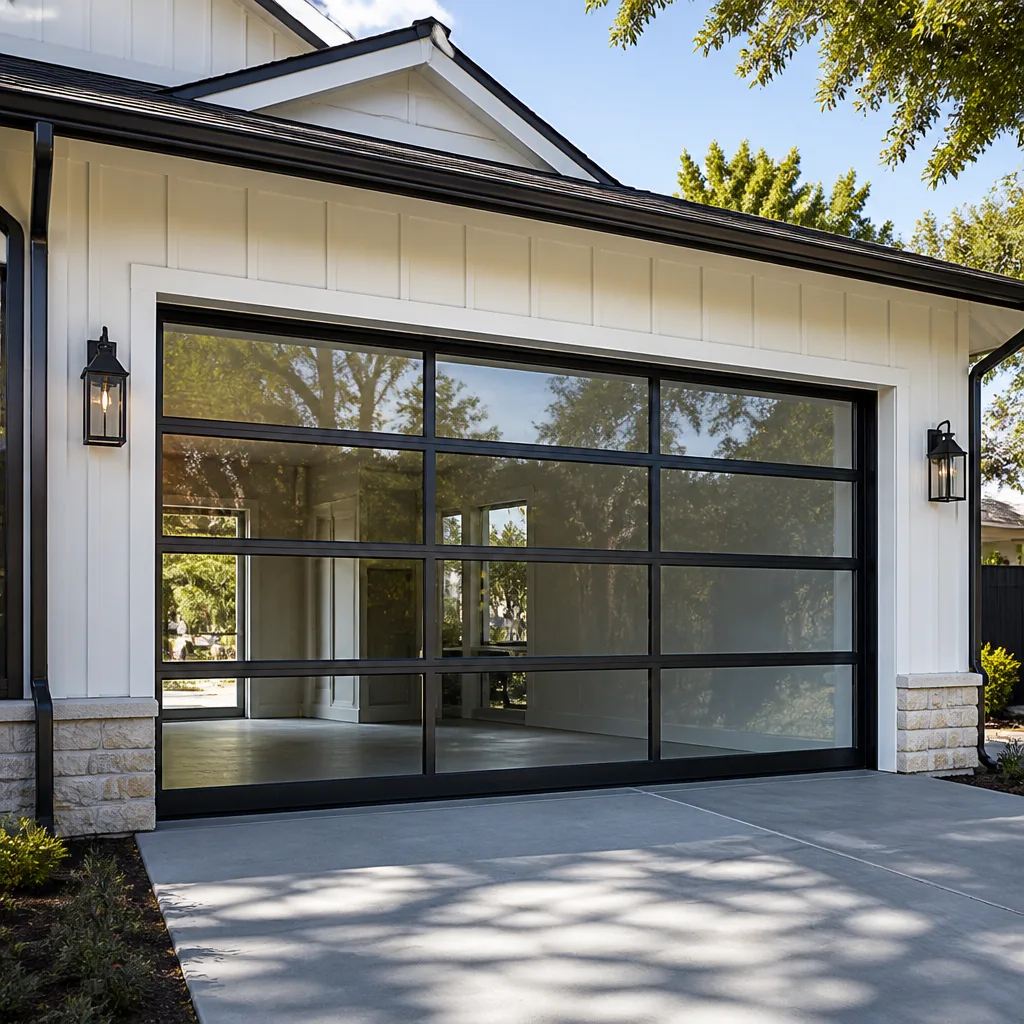 Full-view glass
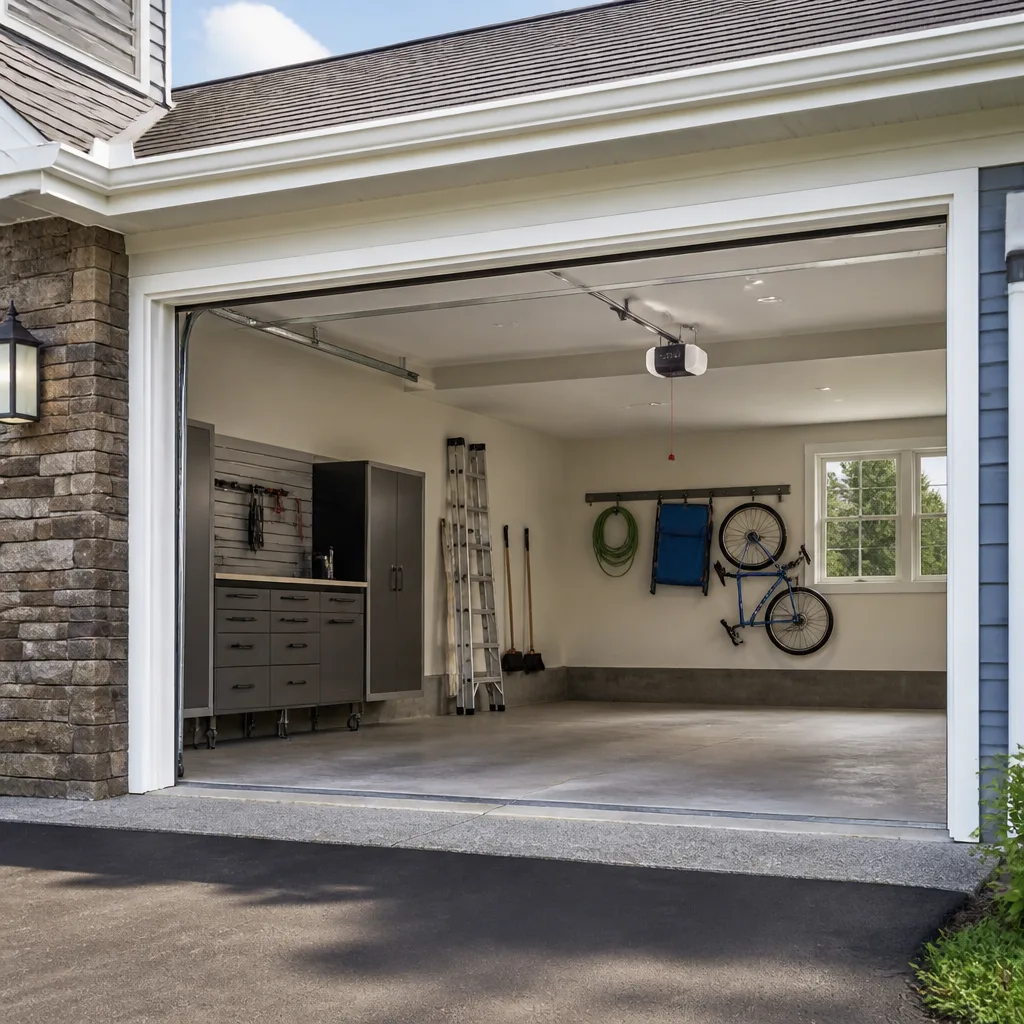 LiftMaster openers
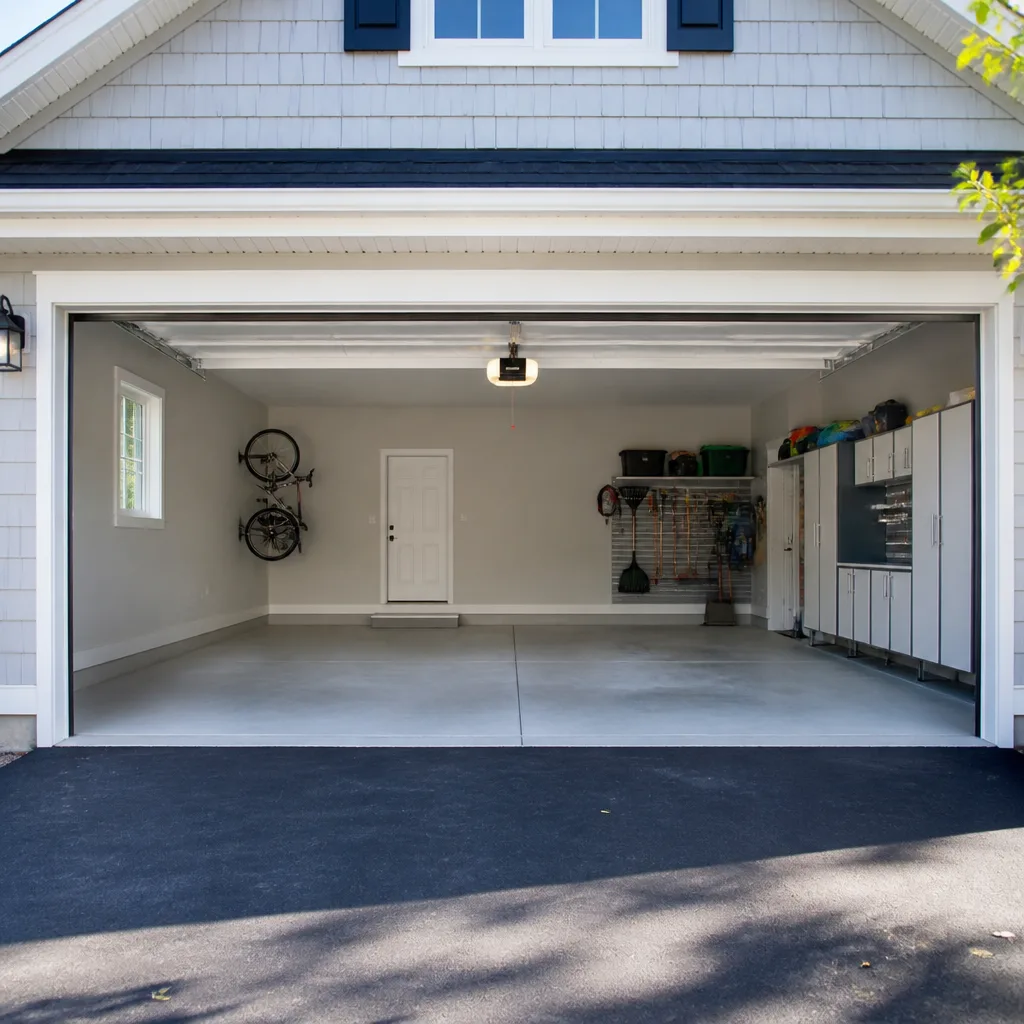 Chamberlain openers
Full 25-point door and opener safety check with every visit - springs, cables, rollers, tracks, and your LiftMaster or Chamberlain opener included
You get a price before we start. It does not change when the pro arrives.
Get your free estimateGarage Door Repair Maintenance Checklist for Mount Washington Homeowners
Search for a garage door maintenance checklist and you’ll find the same advice everywhere: lubricate the springs. That’s the one line most worth ignoring. Torsion springs sit under extreme tension, and spraying them with a general-purpose penetrant does more harm than good, stripping the factory coating and inviting the corrosion that eventually snaps them. A proper checklist for a Mount Washington home checks wear in the order it actually develops: spring fatigue first, then the seals that take the beating from our hillside weather, then rollers and cables, then the opener’s safety systems. This guide walks through that order, twice a year, so you catch problems while they’re cheap to fix.
Quick Answer
A garage door maintenance checklist for Mount Washington homes should cover six things: a visual spring inspection, bottom seal and weatherstripping condition, roller and cable wear, opener force-limit and auto-reverse tests, balance and track alignment, and hinges and bolts. Run it in spring and fall. Anything that involves touching a torsion spring, adjusting cables, or resetting a bent track belongs with a trained technician, because those components store enough stored force to cause serious injury.
Styles & brands we work with
- Raised-panel steel
- Carriage house
- Modern flush
- Full-view glass
- LiftMaster openers
- Chamberlain openers
Table of Contents
- Spring Inspection: Telling Fatigue from Danger
- Bottom Seals and Weatherstripping in Hillside Garages
- Rollers and Cables: The Measurements That Matter
- Opener Safety Tests for LiftMaster, Chamberlain and Genie
- Balance, Track and Hardware Checks
- What to Log Each Inspection
- The Twice-a-Year Sequence, Start to Finish
Spring Inspection: Telling Fatigue from Danger
Springs come in two shapes, and they fail differently. A torsion spring is the horizontal coil above the door, mounted on a shaft at the header. An extension spring runs along the horizontal tracks on either side. Both carry the door’s weight, and both lose strength over time, but the visible warning signs differ enough that you need to know which one is on your door before you inspect anything.
Most Mount Washington homes built after the 1980s have torsion springs. Older properties, especially garages tucked into hillside lots, often have extension springs. Knowing which you have changes how you read the warning signs, and it changes what a technician brings to the job.
Torsion spring warning signs (look, don’t touch)
- A visible gap in the coil, roughly the width of a finger, where a section has separated. This is a broken spring, not a worn one, and the door should not be operated.
- A door that suddenly feels much heavier when you lift it by hand from a closed position.
- A door that opens a foot or so and stops, then reverses, even after the opener has been reset.
- A slight sag on one side, or uneven light showing under the bottom seal.
- Rust spotting or a duller finish along the coil, which indicates the protective coating has worn.
Extension spring warning signs
- Gaps between the coils when the door is closed, a sign the spring has stretched past its working length.
- Fraying at the end where the spring hooks onto the track bracket.
- Door drift: the door creeps down on its own from a partly open position.
Here’s the part that gets left off most checklists: don’t lubricate a torsion spring with a general spray. WD-40 and similar products are solvents, not lubricants, and they wash out the coating that keeps the coil from rusting. A torsion spring on a Mount Washington garage should be left dry unless a technician applies a proper spring-specific coating. Never wind, unwind, adjust or try to replace a spring yourself. Springs are under extreme tension, and a released torsion spring can break a hand or worse. This is one job where watching from a distance is the correct instinct. Our garage door repair work includes spring repair as its own specialty, and it’s the call we take most often when a door suddenly stops lifting.
Bottom Seals and Weatherstripping in Hillside Garages
The bottom seal is the first thing to wear out on a Mount Washington garage, and it’s the cheapest item on this whole checklist. If your garage opens onto an alley or a sloped driveway, the door sill sees water running toward it rather than away. That matters more than most homeowners realize. The rubber bottom seal sits in contact with wet concrete, the bottom brackets sit a few inches above it, and over a few seasons that constant damp takes a toll on both.
Here’s how to check the seal without any tools:
- Close the door fully and look across the underside from inside the garage. Any daylight between the rubber and the concrete means the seal has flattened or the door isn’t sitting square.
- Slide a piece of paper under the door at three points: one side, the middle, the other side. If it pulls out with no resistance at any point, that section isn’t sealing.
- Run a hand along the rubber face. Cracks, hard spots and chunks missing are all signs it’s ready for replacement.
While you’re at the bottom of the door, look at the weatherstripping around the sides and top. Vinyl strips curl and harden with temperature swings, and wood trim behind them absorbs moisture. If the wood is soft or the paint is peeling, the seal needs attention before the wood does. A stiff brush and a fresh seal go a long way; rot doesn’t reverse.
One more local pattern: garages at the bottom of a sloped driveway often have a small concrete curb behind the door to keep runoff out. If yours has one, check that the bottom seal meets the curb rather than the floor. A door that closes against the wrong surface leaves a gap you can’t see from the driver’s seat.
Rollers and Cables: The Measurements That Matter
Rollers and cables don’t fail all at once. They give you months of warning if you know what to look for. The check takes about five minutes and tells you whether the next repair is far off or already overdue.
Rollers
Each door has a roller at every hinge point, usually ten to twelve. With the door half open, look along the tracks at each one.
- Flat spots or a wobble at the roller face means the bearing has worn. A worn roller makes the door noisy and stresses the track.
- A roller face that sits proud of the track (out past the edge) suggests the shaft has bent or the hinge has loosened.
- Nylon rollers usually last longer than steel; if yours are steel and any of them are worn past their original thickness, plan on replacing the set.
The measurement that matters isn’t a number on a ruler so much as a comparison: if one roller looks visibly different from its neighbors, it’s due. A technician can check shaft thickness and bearing play on the spot.
Cables
Look at the cable on each side of the door, following it from the bottom bracket up over the drum (torsion doors) or through the pulleys (extension doors).
- Fraying or broken strands anywhere along the length. Any single broken strand means the cable needs replacing before it fails.
- A slack cable on one side only. That’s a balance problem and a sign of a failing spring, not just slack.
- A cable that has jumped off the drum or is riding unevenly. Don’t run the door; this can bind and snap.
Cables, like springs, are under load. Don’t loosen a cable that looks slack to “see what happens.” Check the bottom brackets and the point where the cable attaches to the door: if there’s rust around the bracket or the cable end looks pulled, that’s a job for a technician. We see more of these on Mount Washington garages that sit on a grade with a wet alley behind them, where the bracket stays damp through the winter. Our garage door installation work also lets us match new hardware to the door’s actual weight, which matters more than most homeowners expect when a candidate replacement is on the table.
Opener Safety Tests for LiftMaster, Chamberlain and Genie
Every automatic opener has two safety systems that need testing twice a year: the force limit (which makes the door reverse when it meets resistance while closing) and the photo-eye (the beam across the opening that stops a closing door). These tests are easy to run yourself and worth doing every time you touch the checklist, because a door that fails either test is a real hazard.
Photo-eye test (all brands)
- Close the door and locate the two small sensors at the bottom of the tracks, one on each side, a few inches off the floor.
- Confirm both have a steady light (not blinking). Blinking usually means the eyes are misaligned or blocked.
- Stand just inside the door and press the wall control to close it. While the door is still moving down, wave a hand or a piece of card through the beam.
- The door should stop and reverse immediately. If it doesn’t, the opener is not protecting anyone under it.
Force-limit test
- Lay a piece of wood, a brick or a firm object on the floor roughly at the center of the opening, about an inch thick.
- Press the wall control to close the door.
- When the door meets the object, it should reverse. The pressure it applies before reversing should be gentle, not enough to crush.
- Remove the object and open and close the door once to confirm normal operation.
The tricky part with LiftMaster and Chamberlain units is that the force setting is buried in the menu, often reachable only through a wall control with an LCD screen, not the old dial. Don’t guess your way through it. If the test shows the door pressing down too hard, that’s a program setting and a trained technician can adjust it safely. Genie units on older Mount Washington doors tend to have a screw adjustment on the back of the housing, which is easier to fiddle with and easier to get wrong. The most common symptom we hear on those, usually on a Craftsman or Genie from the 2000s, is a door that stops halfway up and won’t budge. Often that’s the logic board reacting to a failing wall control, not the door itself. Getting the diagnosis right is why we keep garage door opener repair as its own service.
Balance, Track and Hardware Checks
Balance is the question behind most “the opener isn’t strong enough” complaints. A door that’s properly balanced takes almost no effort to move; an unbalanced one fights the opener on every cycle, and the opener pays the price.
Balance check
- Disconnect the opener using its manual release (follow the opener owner’s manual; on most units, a pull cord near the door).
- Lift the door by hand to about waist height and let go.
- A balanced door holds where you release it. A door that drifts down on its own is under-sprung; a door that springs back up is over-sprung.
- Reconnect the opener. If the door slams shut when you release it, don’t cycle it again until it’s checked.
Track and hardware
- Stand back and look along both vertical tracks. A bend or a kink in the track will wear a roller fast and eventually stop the door.
- Check hinges and bolts for tightness. Loose bolts anywhere along the door speed up wear at the nearest hinge.
- Look at the lift handles and any brackets on the outside face. On a Mount Washington garage exposed to seasonal wet weather, rust at bolts is a sign to swap the hardware before it seizes.
Tightening a loose bolt is fine. Realigning a bent track, swapping a hinge, or adjusting the opener’s safety settings is not. A technician can do those in a single visit, along with a lubrication pass on the correct components (the hinges and rollers, not the springs). Our technicians have up to 14 years of experience matching hardware to the door weight and the opener model already on the house, which is why the same visit usually covers both sides of the system. Every service call on a Mount Washington home can also reach the local professionals we connect you with through Mount Washington Garage Door Repair if a repair grows into something larger.
What to Log Each Inspection
If you do the checklist twice a year, you’ll build a record that’s genuinely useful when something fails. A technician can look at a two-year log and tell whether the problem is gradual (spring fatigue, slow seal wear) or sudden (logic board failure, snapped cable). That changes what gets fixed and how soon.
Log these items every time:
- Date of inspection. Two inspections a year, ideally spring and fall, so the record covers both temperature extremes.
- Spring type and visible condition. Torsion or extension; any rust, gaps, or sag noted.
- Bottom seal verdict. Seal intact, flattened, or cracked. If you replaced it, note the date.
- Roller note. “All fine” or “one worn at hinge 3.” A quick count of how many needed replacing.
- Cable condition. Any fraying, slack, or rust at the bottom bracket.
- Opener brand and model (printed inside the housing or on a label near the wall control) and the result of both safety tests.
- Balance test result. Held, drifted down, or sprang up.
- Noise note. Did it get louder this cycle? A door that’s suddenly louder is telling you something.
- Any symptom you noticed – a hesitation halfway up, a light flashing on the wall control, a door that reverses when it shouldn’t.
The log doesn’t need to be pretty. A note in a phone app or on the back page of a notebook stuck to the wall by the inside button works. The point is to have it in front of a technician when you do call, so the diagnosis starts from history instead of scratch.
The Twice-a-Year Sequence, Start to Finish
Order matters on this checklist. You want to spot problems before you test the door under power, so the sequence starts with observations and ends with the safety tests. Do it in the spring after the worst of the cold and again in the fall before it returns, and you’ll catch the wear-and-tear patterns that show up most in Mount Washington service calls: spring fatigue and temperature cycling, moisture at the bottom brackets from alley-level drainage, and opener logic issues from power fluctuations.
- Walk to the door and look. Is it sitting straight? Any daylight under the bottom? Any loose hardware visible from outside? No tools yet.
- Inspect the springs from the floor. Note type (torsion or extension), rust, gaps, sag. Touch nothing. Record what you see.
- Inspect bottom seal and weatherstripping. Check for daylight, hard rubber, cracks and weatherstripping curl.
- Inspect rollers and cables. Look for flat spots, bent shafts, frayed strands and slack cables.
- Test balance by hand with the opener disconnected. Note whether the door holds, drifts, or springs back up.
- Run the photo-eye test and the force-limit test with the opener reconnected. Note the result.
- Lubricate only what should be lubricated: hinge pivots and roller bearings with a proper garage door lubricant. Skip the springs and the tracks. Tracks stay clean.
- Write it all down. Date, findings, anything that needs watching.
If anything in steps 2 through 6 fails, stop. Don’t cycle the door while you wait for a technician. And if the symptom is urgent, a stuck door or a snapped spring with a vehicle behind it, our Mount Washington Garage Door Repair team can get someone out the same day. We work on the brand you already have, whether that’s a LiftMaster opener on a newer Clopay door or a Wayne Dalton or Raynor from a couple of decades ago.
Common Mistakes to Avoid
- Lubricating the springs. Sprays like WD-40 strip the coating and encourage rust. Springs go dry unless a technician applies a proper coating. It’s the most common mistake we see on Mount Washington doors.
- Adjusting the force limit by guesswork. Increasing force “to make it close” masks a failing spring or a bent track and creates a real safety problem. The force limit is a safety setting, and adjusting it without fixing the cause is like turning up the radio to hide a noise.
- Ignoring a door that reverses on its own. A door that stops halfway or reverses without an obvious cause often has a failing spring or a misaligned photo-eye. Keep operating it and you’ll wear out the opener too.
- Waiting for a bottom seal to shred. A seal that’s gone flat lets in water and cold air. Left long enough, the damage moves to the bottom bracket and the door’s frame. It’s a cheap part with an expensive neighbor.
- Treating every loud door as a candidate for replacement. Noise usually means worn rollers, a loose hinge, or dry hinges. Replacement is a separate conversation, not the first answer. Generalist handymen and big-box installers often don’t have the option to fix, so they don’t offer one.
- Skipping the log. Without a record, you and the technician start from zero each time. A two-line note per visit saves a lot of guesswork later.
- Assuming Saturday is easy. We’re closed Saturday. If a door fails over a Saturday, call (855) 525-7051 and we’ll book you into Sunday, which is part of our regular dispatch week.
See the difference
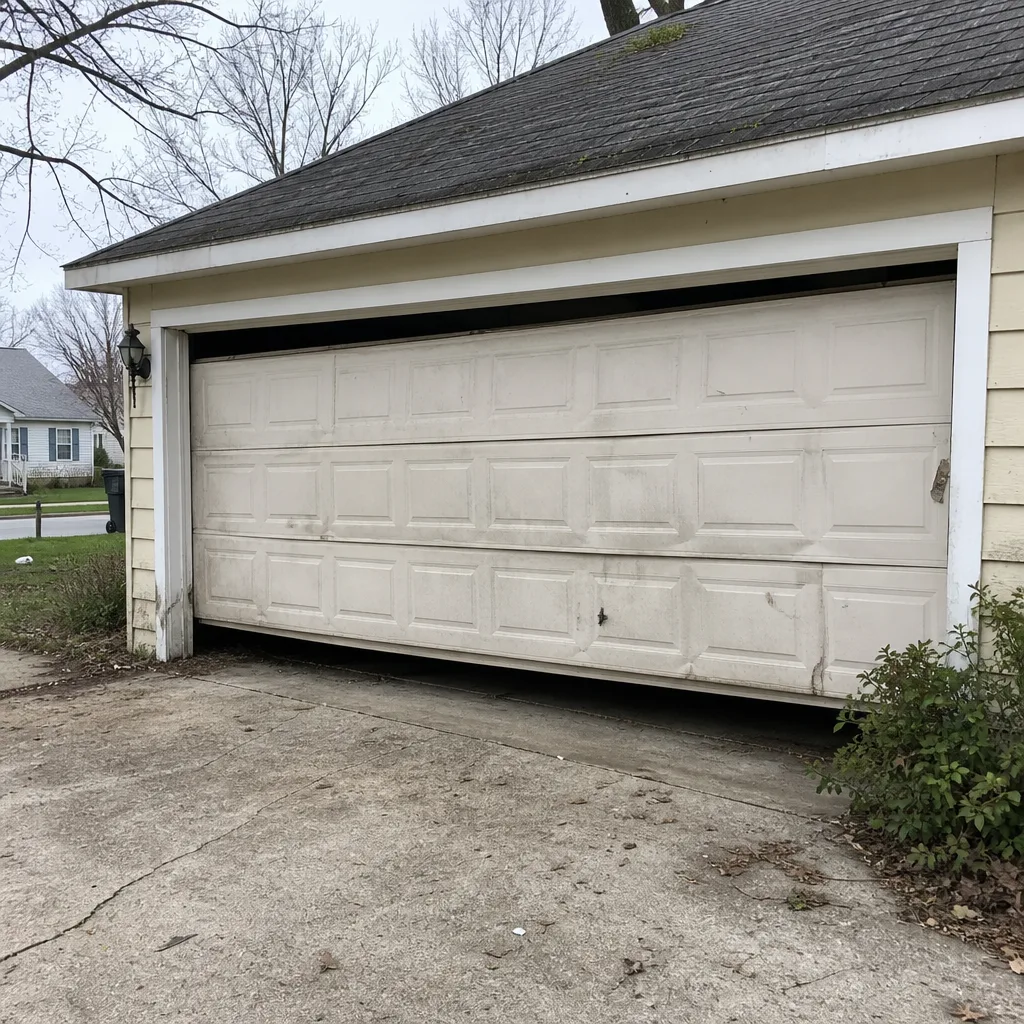 Before
 After
 Before
 After
 Before
 After
When to Call a Professional
Call a professional any time the problem involves a spring, a cable, the track, or the opener’s safety settings. Those four areas are where a home repair becomes a serious injury risk, and where a wrong adjustment turns a small fix into a big one. Also call if the door won’t close fully, if it suddenly reverses without a reason, if you notice rust at the bottom brackets that looks structural, or if your inspection log shows the same issue getting worse over two cycles. Anything on the log that you’d describe as “sudden” is worth a look. Mount Washington Garage Door Repair offers free estimates in Mount Washington. Call (855) 525-7051. We answer 24/7. Fast dispatch from 7am to 7pm, Sunday through Friday. The price is always written and agreed before any work starts, so you’ll never get an invoice bigger than the quote.
Frequently Asked Questions
Twice a year, in spring and fall. Those two checkpoints catch the temperature-driven spring wear that shows up on Mount Washington doors and the seasonal moisture that affects bottom brackets and weatherstripping. A spring inspection and a safety test at each checkpoint take about 30 minutes total, and they’re the two items most likely to prevent a surprise failure.
No, and you shouldn’t want to. Torsion springs under tension shouldn’t be touched, and general-purpose sprays actually strip the protective coating and speed up corrosion. Leave the springs dry, and let a technician apply a proper spring-specific treatment if it’s needed. Hinges and roller bearings can be lubricated with a garage door lubricant, but only with the door at rest and the opener disconnected.
Spring repair. The combination of a hillside grade, seasonal wet weather and regular temperature swings puts a lot of cycles on a Mount Washington spring. A snapped torsion spring is usually the call we get, followed closely by opener issues that turn out to be a failing logic board or a misaligned safety sensor rather than a dead opener.
It’s a repair. A door that reverses without an object in the way usually has a photo-eye problem, a force setting that’s out of adjustment, or a failing spring. Don’t keep cycling it while you wait. Call (855) 525-7051 for an exact quote. Estimates are free.
Almost never. A struggling opener is usually reacting to a balance problem, a worn roller, or a failing spring. Any of those can be fixed on their own. A full replacement is a separate conversation, and it’s usually worth having after a repair has been tried, not before. Our garage door opener repair visits cover both the mechanical and the electronics side, so the diagnosis isn’t one-sided.
No. The price is set per job by a written estimate before any work starts. The technician gives you the estimate after an on-site inspection, you agree to it, and then the work proceeds. If a repair uncovers something else, that’s a separate quote you can accept or decline. Call (855) 525-7051 for an exact quote – estimates are free.
The Bottom Line
Most garage door failures give you months of warning before they happen. Run this checklist twice a year in the right order, spring inspection first, seals and rollers and cables next, opener safety tests last, and you’ll catch wear while it’s still a small repair. Skip the lubricant on the springs, don’t touch anything under tension, and keep a simple log so any technician can see the pattern if a symptom shows up. In Mount Washington, the doors that last longest are the ones that get checked on schedule, not the ones that get forgotten until something snaps.
If your inspection turns up anything that looks like a job for a trained technician, call Mount Washington Garage Door Repair at (855) 525-7051 for a free estimate. We handle spring repair, opener repair, emergency service and full installation on the brands already on your home, from LiftMaster and Chamberlain to Wayne Dalton and Raynor. We answer 24/7. Fast dispatch from 7am to 7pm, Sunday through Friday.
Written by the team at Mount Washington Garage Door Repair.